When your seedlings have two or more sets of leaves and are large enough to handle, it’s time to give them more room.
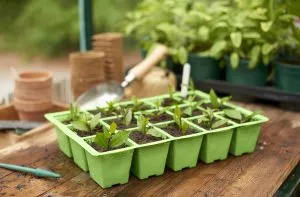 Westland have the right equipment and advice to ensure pricking out is smooth. Seedlings that outgrow seed trays will begin to fight for light, water and nutrients. Roots of seedlings will have reached the bottom of your seed tray and will outgrow the available space.
Step by Step to Prick Out Seedlings
1.Water the seedlings an hour before pricking out to make the roots easier to separate.
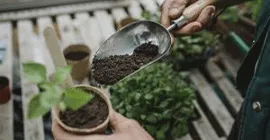
2. Gather the right equipment. The Gardman Planting & Labelling Set has the equipment you need to get started, including a widger, dibber, labels and marker pencil. Use the widger or dibber to make holes in the compost to plant the seedlings into.
3. Take your pricking out tool (widger) and gently pinch a leaf between the thumb and forefinger of your other hand. (Always handle seedlings by a leaf, never by the fragile stem that is so easily damaged)
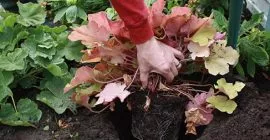
4. Dig the widger deep into the compost/ soil down to the roots and gently lift up the compost under where the roots and seedlings are, until you feel them coming away from the soil.
5. Before transplanting into bigger pots, make sure the hole for these pots are big enough for the rootball of the seedlings. Once you have checked this, place the seedling into the hole and firmly press the compost around with your tools or lightly with your hands.
6. You need to choose the pots you want to move the seedlings into, fill these with good quality compost listed below:
6. Once you have replanted your seedlings make sure you water them in.
7. Use labels to mark up your seedlings
8. Place the seedlings in a light, frost-free place to grow on.
Once the seeds are pricked out, it’s a good idea to read our how-to pot up seedlings guide.